Getting Started with Trezor.io/start: Secure Your Crypto Journey
A clear, step‑by‑step guide to setting up your Trezor hardware wallet using the official portal
What Is Trezor.io/start?
Trezor.io/start is the official setup portal provided by SatoshiLabs. It’s your first destination after unboxing a Trezor device. Rather than piecing together random guides or risking phishing sites, this page leads you through a guided and secure onboarding flow: downloading the official app, installing firmware, creating or recovering your wallet, and enforcing essential security practices.
In short: if you're holding a Trezor hardware wallet right now, **Trezor.io/start** is where your journey to full crypto ownership truly begins.
Why You Must Use the Official Start Flow
Crypto is rife with tricks and traps. Using Trezor.io/start ensures you get:
- Official download links to Trezor Suite (desktop & web) :contentReference[oaicite:0]{index=0}
- Built-in firmware authenticity checks
- Secure guidance for PIN, recovery seed, and optional passphrase
- Protection against phishing and fake setup flows
Step‑by‑Step: How to Use Trezor.io/start
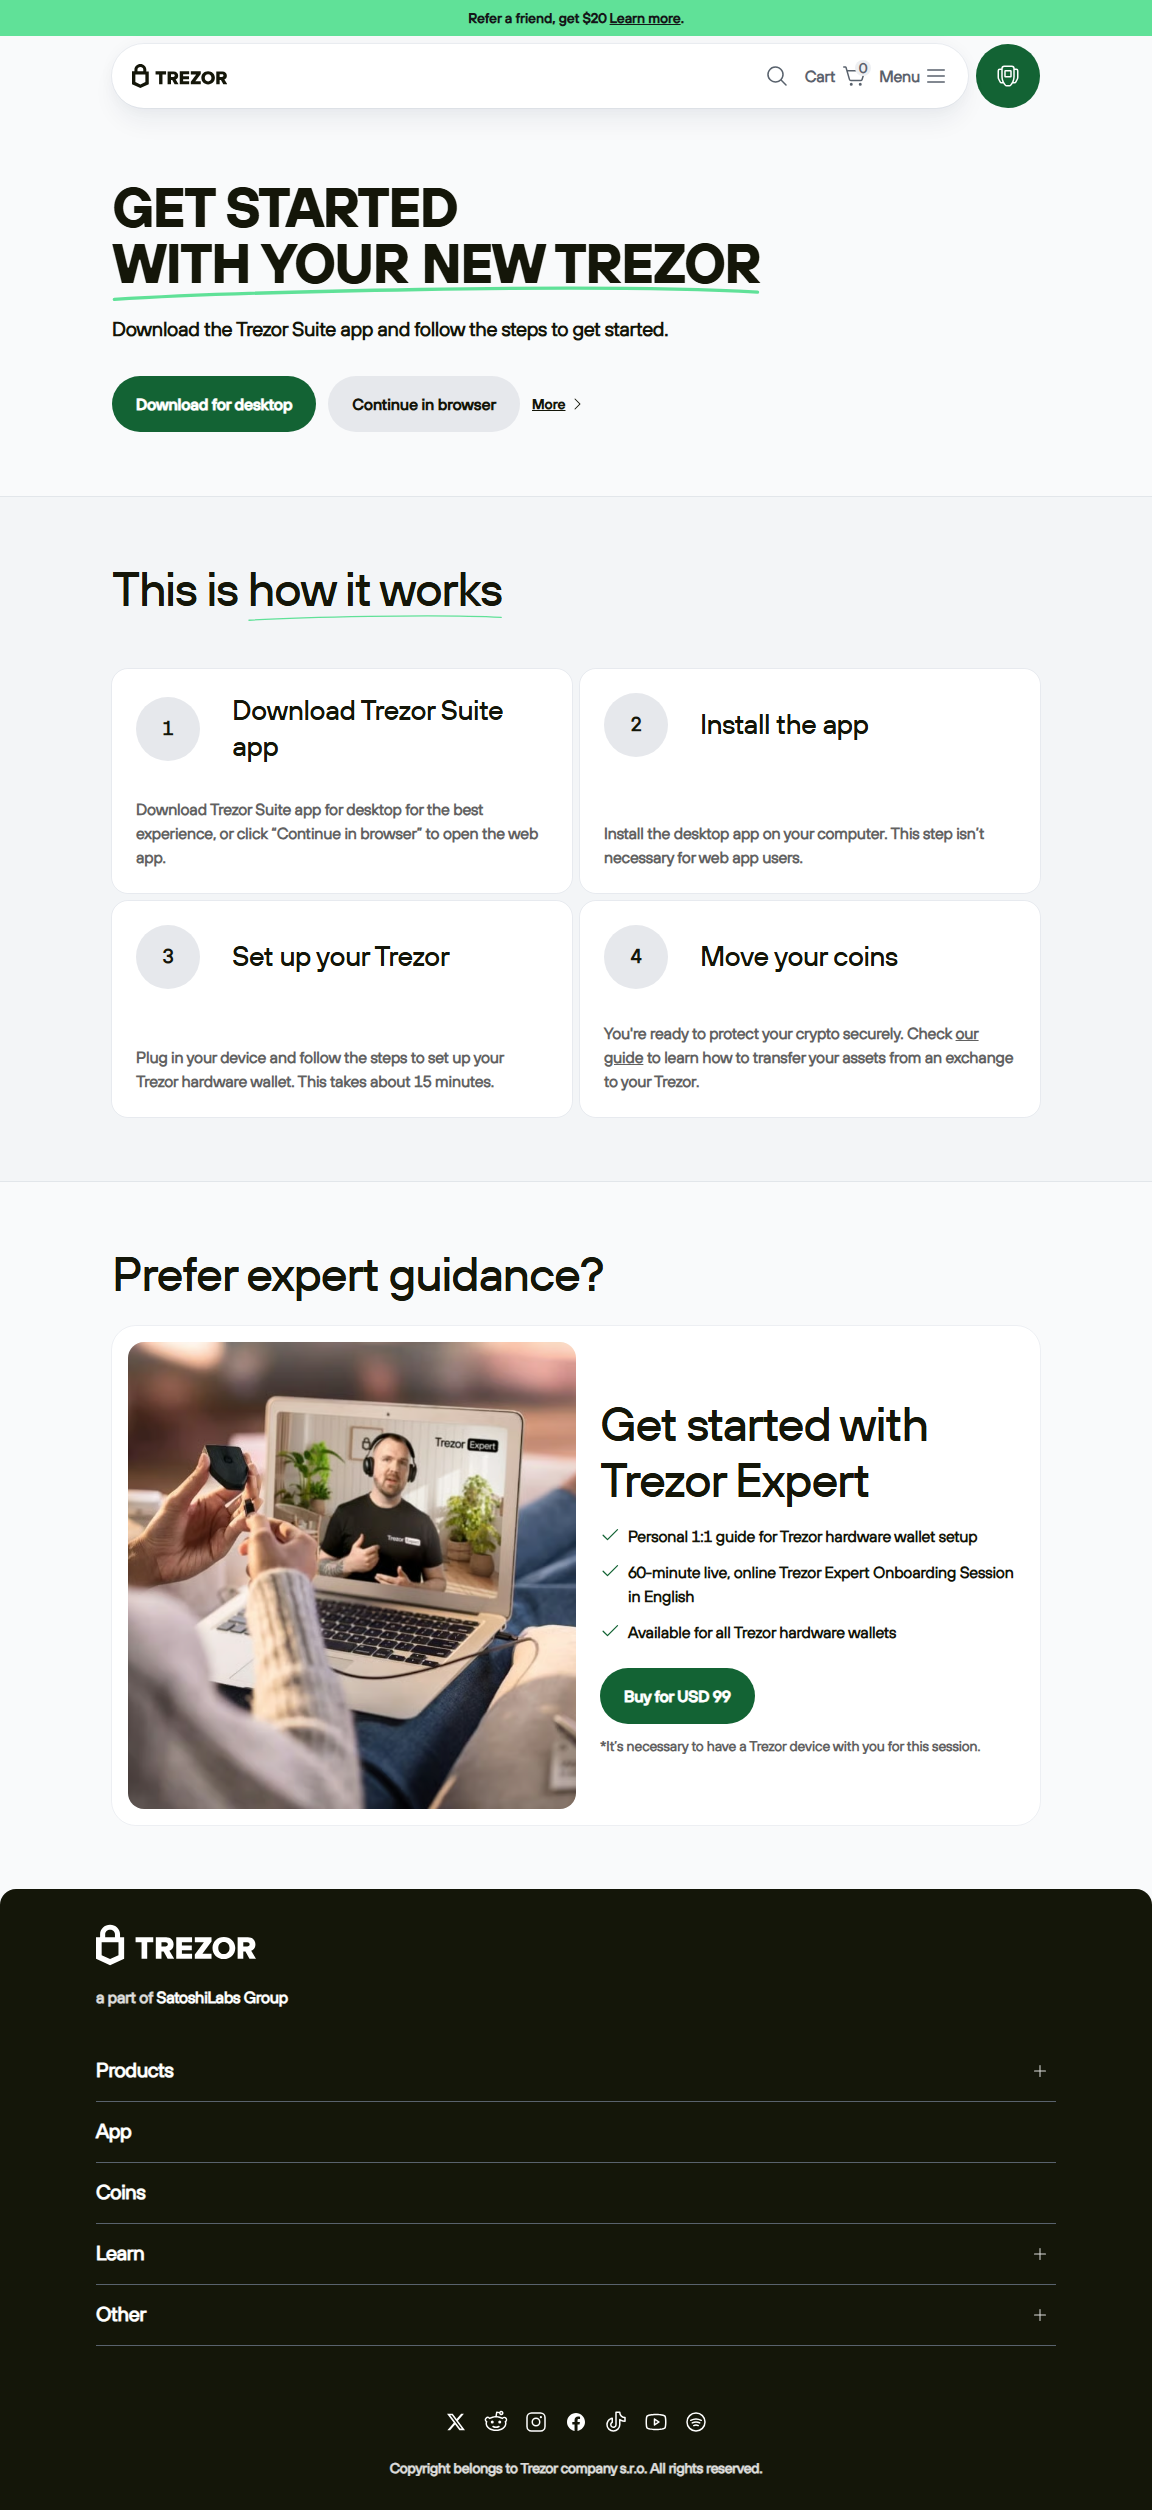
1. Open Trezor.io/start in Your Browser
Type trezor.io/start (exactly) into your browser’s address bar. Be sure you see the secure padlock symbol and correct domain to avoid phishing redirections.
2. Download Trezor Suite
The page will prompt you to download Trezor Suite for desktop (Windows, Mac, Linux). Alternatively, there’s often a “Continue in browser” option for the web version. Always use the version provided by the portal. :contentReference[oaicite:1]{index=1}
3. Install & Launch Trezor Suite
Install the software, open it, and let it load. It will detect your device and guide you through firmware setup if needed.
4. Connect Your Trezor Device
- Plug in your Trezor via USB
- If firmware is needed, the portal and Suite will prompt installation
- Confirm authenticity checks on the device
5. Create or Recover Your Wallet
Choose “Create new wallet” (for new users) or “Recover wallet” (if you already have a seed). If recovering, carefully input your words via secure interface.
6. Back Up Your Recovery Seed
Your recovery phrase (12 or 24 words) is your only backup. Write it down manually. Never store it digitally or take photos. Confirm word order on the device as part of verification.
7. Set a PIN and (Optional) Passphrase
Choose a secure PIN to lock your device. Optionally, enable a passphrase for a hidden “wallet layer” that adds additional protection against physical theft or device compromise.
⚠️ Warnings You Must Never Ignore
- Never input your recovery phrase into any website or app — this includes during “setup” phases.
- Trezor (or Suite) will never ask for your recovery seed later — any request is a scam.
- Avoid public or untrusted computers during setup or recovery.
- Verify the device’s authenticity and firmware integrity each time you connect.
After Setup: What You Can Do with Your Trezor
- Send, receive, and manage supported cryptocurrencies
- Monitor your portfolio and transaction history
- Connect to Web3 apps (e.g. Ethereum dApps), with every transaction signed on‑device
- Configure extra security features — passphrase wallets, device labels, etc.
Troubleshooting & Real‑User Tips
“Go to trezor.io/start” message appears on device
This usually means firmware is missing or wiped. Reinstall firmware via Suite and recover your wallet using your seed. :contentReference[oaicite:2]{index=2}
Device not detected or stuck after “connect” click
Change USB cable, try a different port, ensure Trezor Bridge (if needed) is running, or switch to Trezor Suite desktop instead of web. :contentReference[oaicite:3]{index=3}
Stuck at “Get Started” on newer models (e.g., Safe 3)
Use the official supplied cable, reinstall Suite, and check for driver or OS-level compatibility issues. :contentReference[oaicite:4]{index=4}
Final Thoughts: Trezor.io/start Is Your Secure Launchpad
In the ecosystem of crypto, your security setup is the foundation for everything you build later. Trezor.io/start offers you a safe, official, and stepwise pathway from device box to confident wallet owner.
Take each step slowly, verify everything, guard your seed, and always use the official flow. That’s how you ensure your digital assets are truly yours — and only yours.
Your device, your keys, your control — it all begins at Trezor.io/start.